Lately, after watching one of my friends struggling with the call from a customer inquiring about a tethering, I decided to create this quick tutorial. Even though in general turning your handset into a portable Wi-Fi hotspot using your device's 3G connection is easy, you need to be aware which Android version of OS are you dealing with.
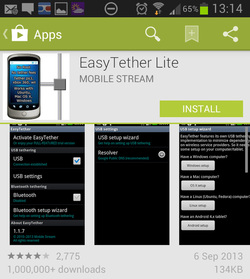
Google introduced this feature in Froyo, version 2.2 of its Android operating software. Those with smartphones running Google Android 2.1 or lower, you'll need to download an app such as EasyTether (on the left) to connect your device. If you would like to have an access to secure sites like Facebook, Gmail or online banks you must buy the full version of the app (£6.50 one charge only).
It's worth remembering to check your network's terms and conditions on tethering and keep an eye on your data allowance as depending on your web activities you could find yourself hitting your mobile data cap a lot quicker than you think. Exceeding your data limit may result in an unwanted charge.
So here is how to connect your Android 2.2 or higher. I've used my Samsung as an example, but the process is the same in case of any other Android phone running Froyo 2.1 or higher.
Step One:
From the Home Screen, select the Settings menu and tap wireless & networks or more settings.
From the Home Screen, select the Settings menu and tap wireless & networks or more settings.

Step two:
Select Tethering & portable hotspot.
Select Tethering & portable hotspot.

Step three:
Tick or switch the box next to Portable Wi-Fi hotspot.
Tick or switch the box next to Portable Wi-Fi hotspot.

Step four:
Tap Portable Wi-Fi hotspot (pic above) to get to the next page. Here by clicking configure, you can edit the Wi-Fi network's name, and choose a password. For this tutorial I used "Maurycy's-Note-2" as the name of my hotspot.
Tap Portable Wi-Fi hotspot (pic above) to get to the next page. Here by clicking configure, you can edit the Wi-Fi network's name, and choose a password. For this tutorial I used "Maurycy's-Note-2" as the name of my hotspot.

|

|
|
Step Five:
Now on your PC or laptop, select your handset's network from the list of Wi-Fi connections available. Click connect and then you'll need to enter the password for the Wi-Fi hotspot. Once connected, you'll be able to surf the web using the handset's 3G or 4G connection to your heart's content. 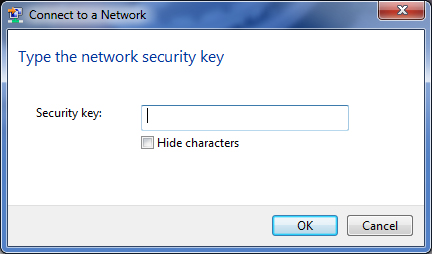
|

|
